
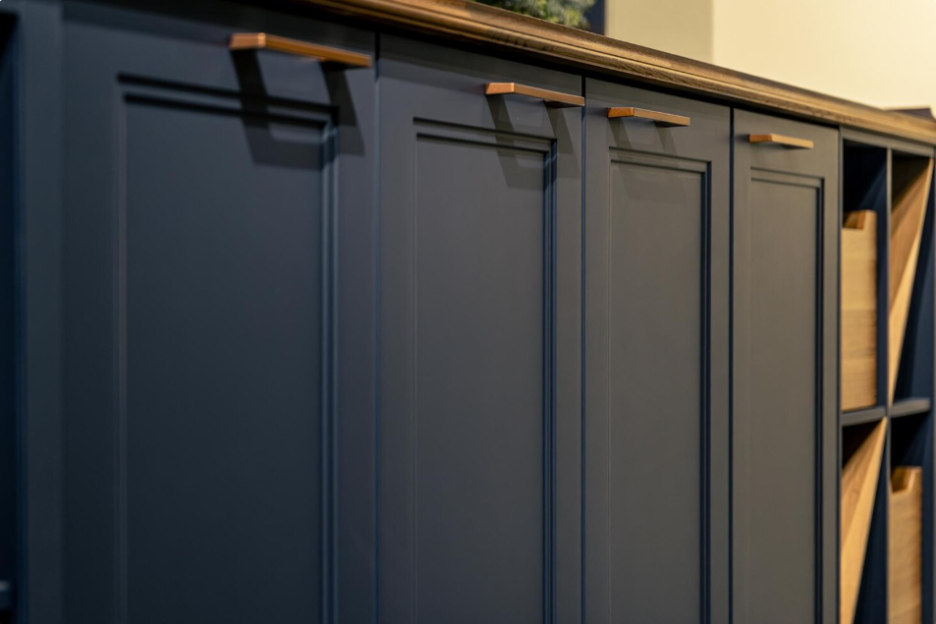
Oak cabinets can give your kitchen a warm, classic look, but their open grain can make painting tricky. Even after you apply several coats, the wood texture may still show through. Poor preparation can also leave you with rough spots, brush marks, uneven coverage, or a finish that does not look as polished as you expected. These issues can be frustrating after spending time and money on a cabinet update.
You can get a smoother result by treating cabinet painting as a finishing process rather than simply applying paint to wood. Thorough cleaning, careful sanding, grain filling, proper priming, and controlled paint application all matter. The condition of your existing cabinets also affects how much preparation they need.
Here are five practical ways to achieve a smooth, durable finish when painting oak cabinets.
1. Prepare Surfaces Before Paint
Clean, stable surfaces give paint a better foundation. Before painting oak cabinets, remove grease, cooking residue, dust, and other buildup from the doors, drawer fronts, and cabinet boxes. Kitchen cabinets can collect oils around handles and other frequently touched areas. Paint may struggle to bond evenly when those contaminants remain on the surface.
Inspect each cabinet component after cleaning. Look for dents, scratches, loose edges, old peeling finish, or other imperfections that could remain visible under new paint. Remove hardware when possible so you can reach the entire surface. Repairs should also be completed before priming or painting begins.
Sanding then helps prepare the surface for the next coating. Sanding can remove loose finish and create the surface profile needed for better primer adhesion. You do not always need to strip the cabinets down to bare wood. Careful preparation should create a clean, sound surface without unnecessarily damaging the existing material.
2. Fill Oak Grain for Smoothness
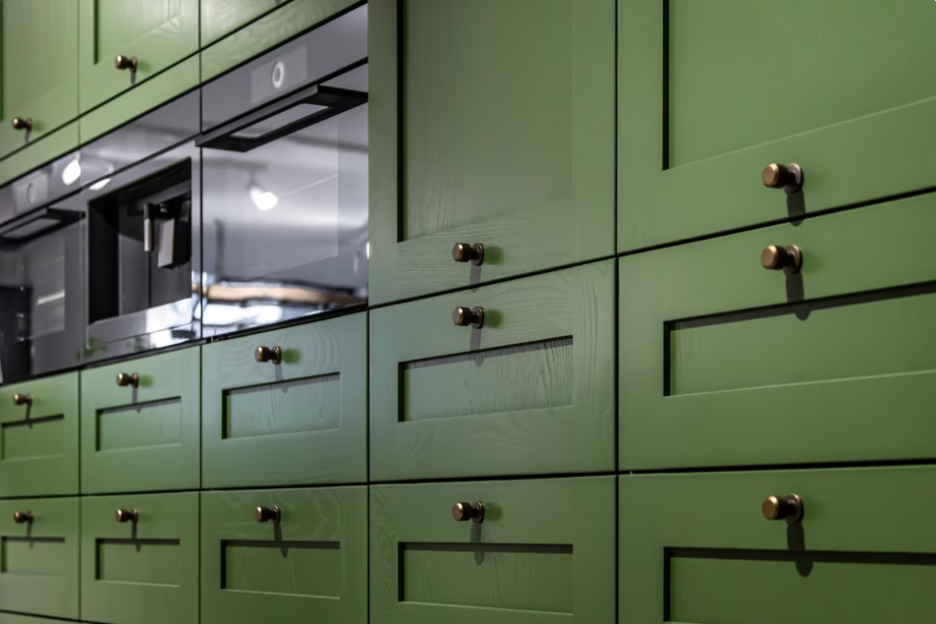
Oak’s open grain is one of the main obstacles to achieving a smooth painted finish. Paint can change the cabinet color while leaving the natural grain pattern and small depressions visible. If you want a flatter, more uniform appearance, grain filler can help level those recessed areas before the finish coats are applied. Filling the deeper grain can give the paint a more even surface to cover.
Apply a suitable grain filler according to the manufacturer’s directions. Give the filler enough time to dry or cure before sanding the surface smooth. Careful sanding removes excess filler while leaving material within the deeper grain. A thorough process can reduce the texture that would otherwise remain visible beneath the paint.
Your desired appearance should guide the amount of grain filling you use. You may prefer some oak texture if you want the wood character to remain visible. If your goal is a smooth, painted-cabinet appearance, more extensive grain filling may be appropriate. Deciding on the desired finish before work begins helps you choose the right preparation approach.
3. Choose Primer for Adhesion
Primer helps create a consistent foundation between the prepared cabinet surface and the finish coats. The right primer can improve adhesion and help prevent differences in absorption across the wood. Primer also gives you another opportunity to identify surface imperfections before the final finish is applied. A well-prepared primed surface can help the finish coat look more even and polished.
Choose a primer that is compatible with the cabinet material and your planned coating system. Follow the product manufacturer’s directions for application, drying, and sanding. Once the primer has dried, examine the cabinets under good lighting. Look for raised grain, dust particles, scratches, or other flaws that may affect the final appearance. Correcting these issues before painting can help you avoid visible defects in the finished cabinets.
Do not assume the first preparation pass will produce a perfect surface. Lightly sand rough areas when appropriate and remove dust before applying additional coatings. Taking time at the primer stage can prevent small imperfections from becoming more noticeable after the final finish coats are applied.
4. Apply Thin, Even Coats
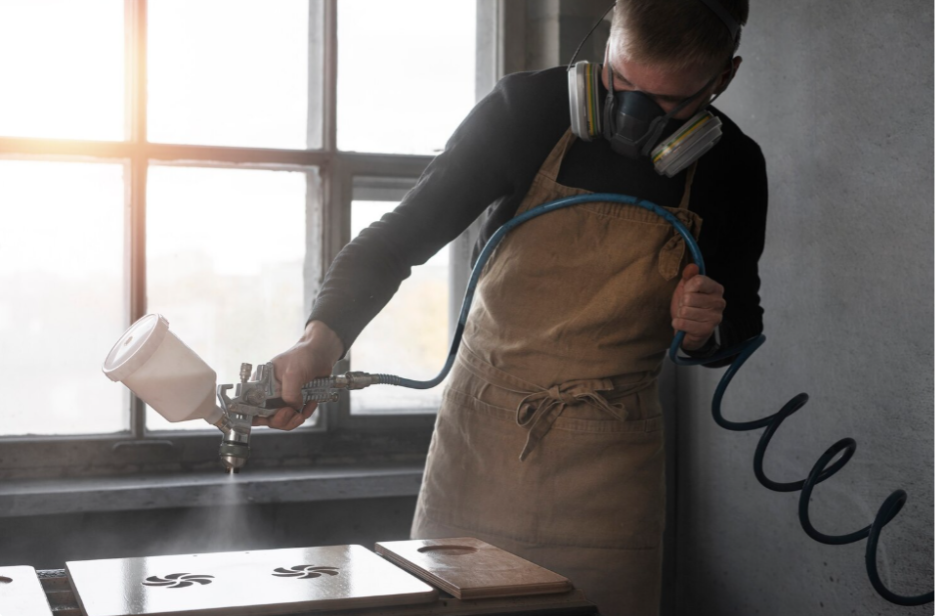
The way you apply the finish can have a major effect on how smooth your cabinets look. Thick coats may cover the surface quickly, but excess material can create drips, ridges, uneven coverage, and extended drying times. Controlled coats generally give you better coverage and surface consistency. They also make it easier to maintain an even appearance across doors, drawer fronts, and cabinet frames.
Brushes and rollers can work for certain cabinet projects, but application technique matters. Professional spray equipment can provide a more uniform finish when the coating, equipment, and technique are properly matched. Spraying can also reduce the brush and roller texture that may remain visible on large, flat cabinet surfaces.
Give each coat enough time to dry or cure according to the coating manufacturer’s instructions. Avoid rushing the next application simply because the surface feels dry. Inspect each coat before continuing. If you find dust or small imperfections, address them before adding another layer rather than burying the problem beneath additional coating.
5. Control Dust and Cure Time
A smooth finish can be affected by more than sanding and paint application. Dust that settles on wet coating can create tiny bumps and rough areas. Keeping the work area clean and limiting airborne debris can help protect the surface while each coating dries. Even small particles can become noticeable once the finish has fully dried.
Cabinet doors and drawer fronts can benefit from a controlled finishing environment. Professional cabinet finishers may use dedicated facilities, spray equipment, dust-control systems, and appropriate ventilation to limit contamination. A controlled environment can also make it easier to apply coatings consistently across multiple doors and drawer fronts.
Curing deserves the same attention as application. A cabinet coating may feel dry before it reaches its full hardness and durability. Avoid reinstalling hardware or placing heavy use on freshly finished cabinets too soon. Follow the coating manufacturer’s recommended cure time so the finish has enough time to develop its intended performance.
Conclusion
Getting a smooth finish on oak cabinets takes more than choosing the right paint. Careful cleaning removes grease and residue, while sanding creates a better surface for primer. Grain filling can reduce visible texture, and proper priming helps the finish adhere evenly. Thin coats, controlled spraying, and good dust management also play an important role in the final result. Each step builds on the one before it, so rushing preparation can undermine the entire project.
Before you begin, look closely at your cabinet condition and decide how much oak grain you want to remain visible. If you want a refined, durable finish without managing every preparation and application detail yourself, professional cabinet painting can help you achieve a polished kitchen update while keeping your existing cabinetry.